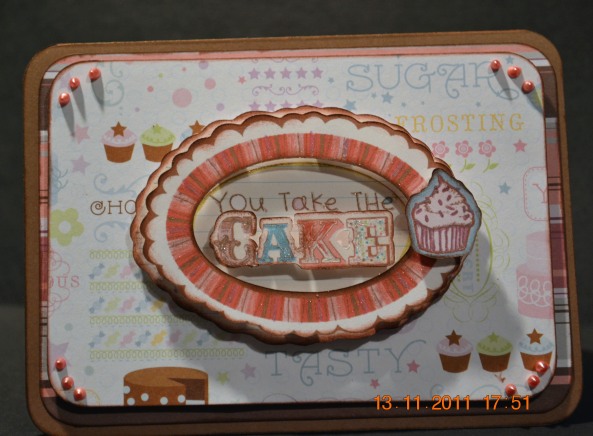
Add Dimension With Folded Circle Flowers

This card is wonderful! I love how Fun Scrap Moms have given such great details on how to create it! Looks like a great card to scraplift for my next card making party…… with of course changes to maybe…… Mother’s Day Card? My mind is working overtime!

Fun Scrap Moms

Hello everyone! here are some instructions of making some easy circle flowers that can really add a lot to a card or other project. With Valentine’s Day coming up I thought it might be fun to make one of these flowers with the Cheerful Valentine’s Day Addition and add it to a cute V-Day card.

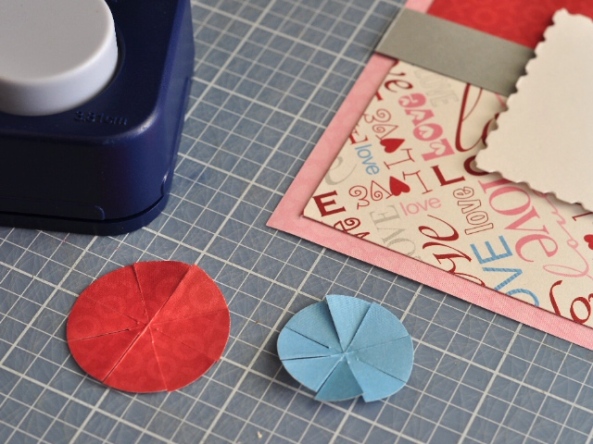
To start making the flowers you will need your Circle Maker (or you could use your Custom Cutting System) to make two circles.

Take each circle and fold it into eights.

Cut inward on each of the fold lines towards, but not quite all the way, to the center.

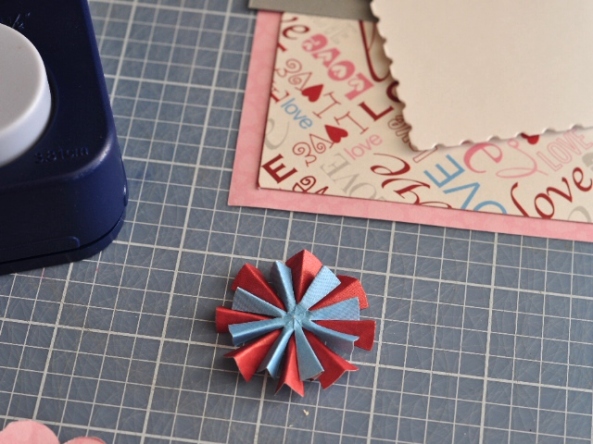
Take each petal and fold it downwards in half.

Using a Foam Square layer the flowers so the the colors of the petals alternate.

Punch a scalloped circle with the Scalloped Circle Maker and cut inward almost to the center of each scallop to make…

View original post 270 more words

Drag & Drop Media Uploader & Flyout Dashboard Menus

Another way to make my life easier!

WordPress.com News

We’re excited to share some new features that will make it even faster to create content on your WordPress.com site.

Drag & Drop Uploads

The media uploader now supports drag and drop!

You’ll be able to use the new drag and drop media uploader wherever you need to upload your media files – while writing a Post or Page, or directly in the Media Library. In fact while you’re creating a post, you’ll notice now there’s just one icon to represent all of the different media files you’ll upload called “Add Media“:

After you’ve clicked that, find those image/music/video/other files you need on your computer, drag them over and drop them into the WordPress interface, and watch the magic happen! Learn more about adding images and video with step-by-step tips on Learn.WordPress.com.

Flyout Dashboard Menus

We want you to spend the most time creating content as possible, and…

View original post 177 more words

Imagine More Cards!

Sorry it took me so long to get back to this but it is a busy time of the year!  Here are a few more cards made with my Imagine of course!

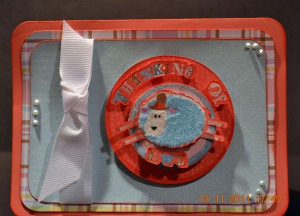
This first card would be nice to give a friend or maybe someone who just needs a lift.

I used flower soft on the lamb to make him all soft and cuddly looking. Pop dotted him up, added ribbon and liquid pearls for added interest.

The next card

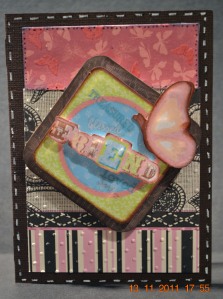
Just to say you care

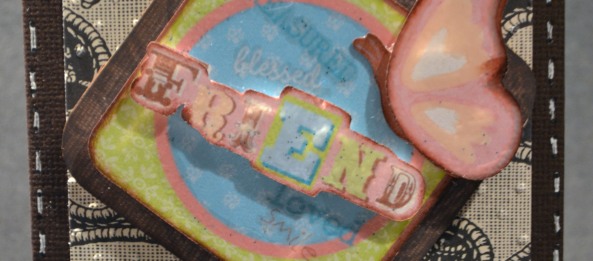
I used glossy accents on the butterfly to give it dimension as well as lots of shine.  I embossed the lower boarder with swiss dots using my Cuttlebug.  Faux stitching along the edge to finish it off!  Thanks for looking!  Leave a comment if you would like more instructions.

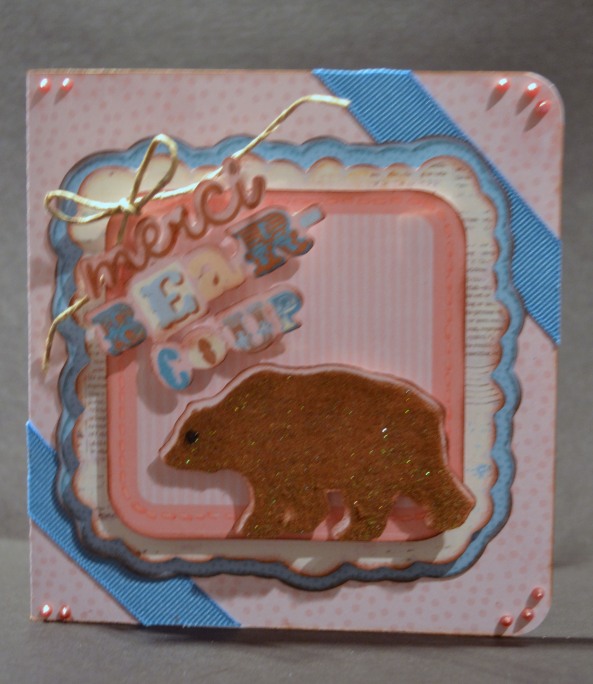
Continuing from yesterday’s posts, I made a couple of cute thank you cards.  I used the Imagine More Cartridge to make the focal die cuts.  The first one is called Merci Bear-Coup.  I added flock to the bear to make him look furry, liquid pearls for added detail and ribbon to finish it off.

the card measures 5 X 5 square.


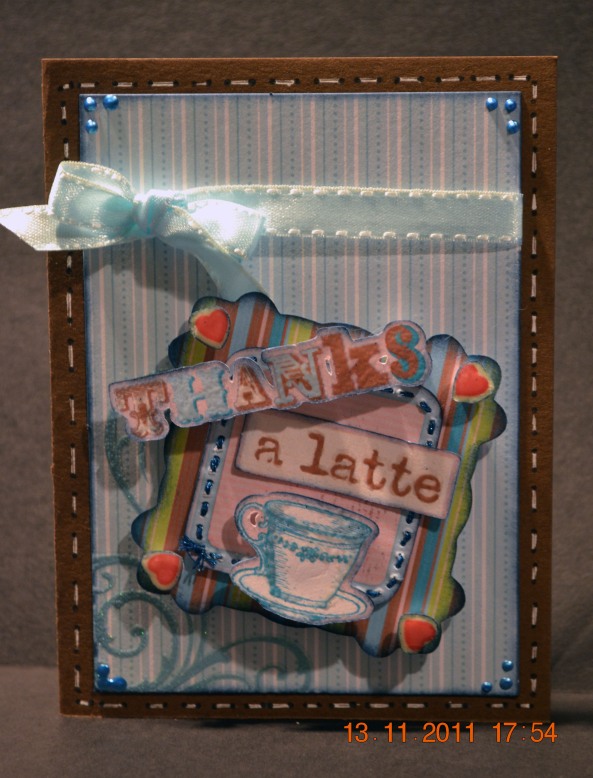
The second thank you card is called Thanks a latte.  It is a much smaller card measuring 3 3/4 X 5 inches.  To make the words and the cup stand out I embossed with clear embossing powder.  Unfortunately it is hard to see the detail of the embossing.  Guess I’ll have to figure out how to take a better picture.  More to learn!  Stitching was done by pen to outline the base of the card.  To finish I added liquid pearls and ribbon.

A great card to give to a friend

Tomorrow I’ll post the friendly note cards!  Thanks for looking!

Happy Bird Day!

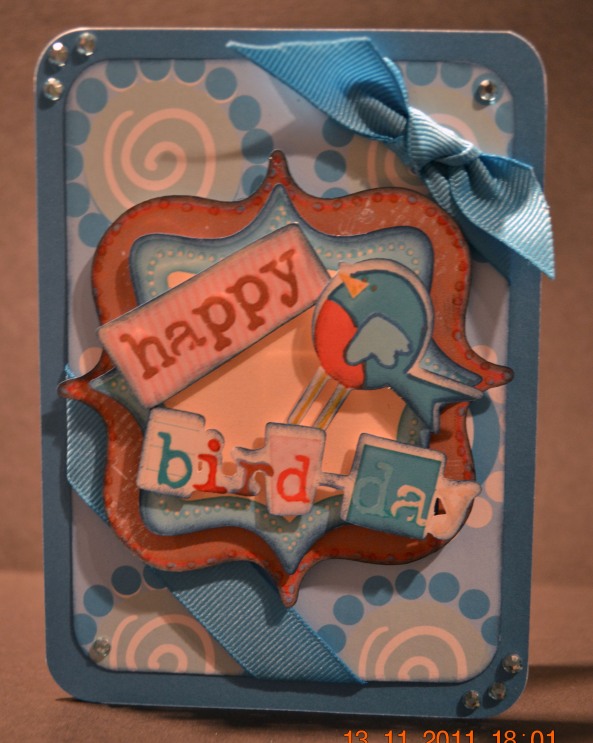
I’ve been experimenting with my Cricut Imagine this last week and have made several new cards. While I was playing, I cut out several images from the Imagine More Cards cartridge. Of course I had to print and cut out all the layers and put them together. At first I thought I would just save the completed die cuts for when I needed them but after thinking about it, I decided that I would either lose or forget where I put them. At any rate, I decided that in order to not lose them, I had better figure out how to use them. Here is the first card,

I was really pleased with the color and thought the little bird was quite adorable. The card is 51/2 X 4 inches. I cut the mat at 5 X 3 3/4, added the ribbon, bow and a few rhinestones to glitter it up!

The second card is also a birthday card. I layered the die cut then pop dotted the die cut for dimension. I had to search my stash to find the right paper for the mat, rounded the corners and added liquid pearls to complete the card. The card measures 5 1/2 X 4 inches.

Thanks for looking! More to come this week!

Sophie Anniversary Card

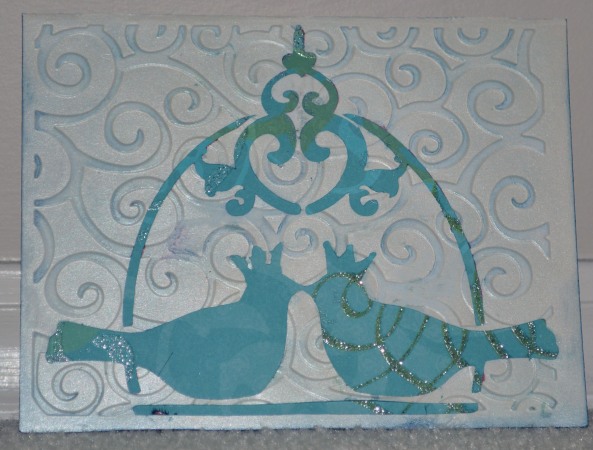
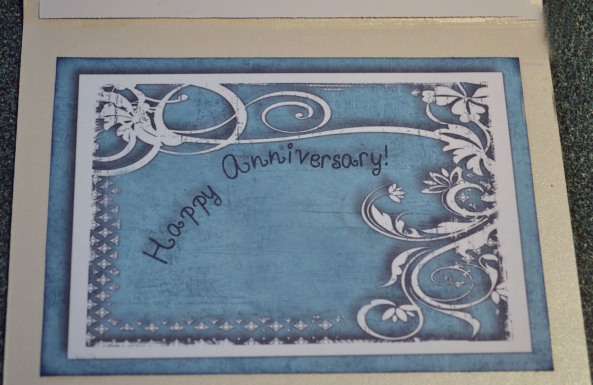
Saturday was my 34th wedding anniversary!  I made this card for my husband.  I used the Circle exclusive Sophie cartridge. This is one cartridge I am so glad to have. It is full of cards for all occasions.   I found exactly what I wanted on page 22 of the booklet.  I thought the lovebirds would be cute but also more elegant for the occasion.  I cut the card base at 5 1/2″ by 8 1/2″ from the cream color cardstock from the  DCVW Shimmer stack.  I also cut the liner at 2 3/4″ by 4 1/4″  from the  DCVW Mariposa stack. I got out my Cuddlebug and embossed the card using the Divine Swirl embossing folder.  Next, I used chalk to bring the embossing to life and inked the edges of the card with a dark blue.  Time to move to the inside.  I glued the liner to the upper  inside of the card.   I couldn’t find a stamp that I thought would work for this, so I went to my Creative Memories Storybook Creator software.  I created a custom sentiment for the inside to  print.  A little trimming and I was done.  I hope you like it!

For anyone with an Imagine this is a fantastic way to organize and easily find exactly what you want for a project!  Thanks, Robyn!

Episode 294 – Patterned Paper with the Cricut Imagine